

I had a very small amount of time to make a very large batch of labels and needed to make the process more efficient. I cannot believe I didn't think of doing it this way before.
Instead of cutting my ribbon or twill tape, I just ironed 5-6 onto the ribbon at a time. SO much faster! It keeps them way more organized for storage and cuts down on the amount of ribbon wasted. I've included the (extremely popular) original tutorial beneath for convenience, but with fewer steps, since I'm getting smarter.

Materials:
Iron on Transfer Paper (I just used the t shirt kind)
Printer
Scissors
Iron
Ribbon, twill tape or whatever you like best. Just make sure it's iron safe!
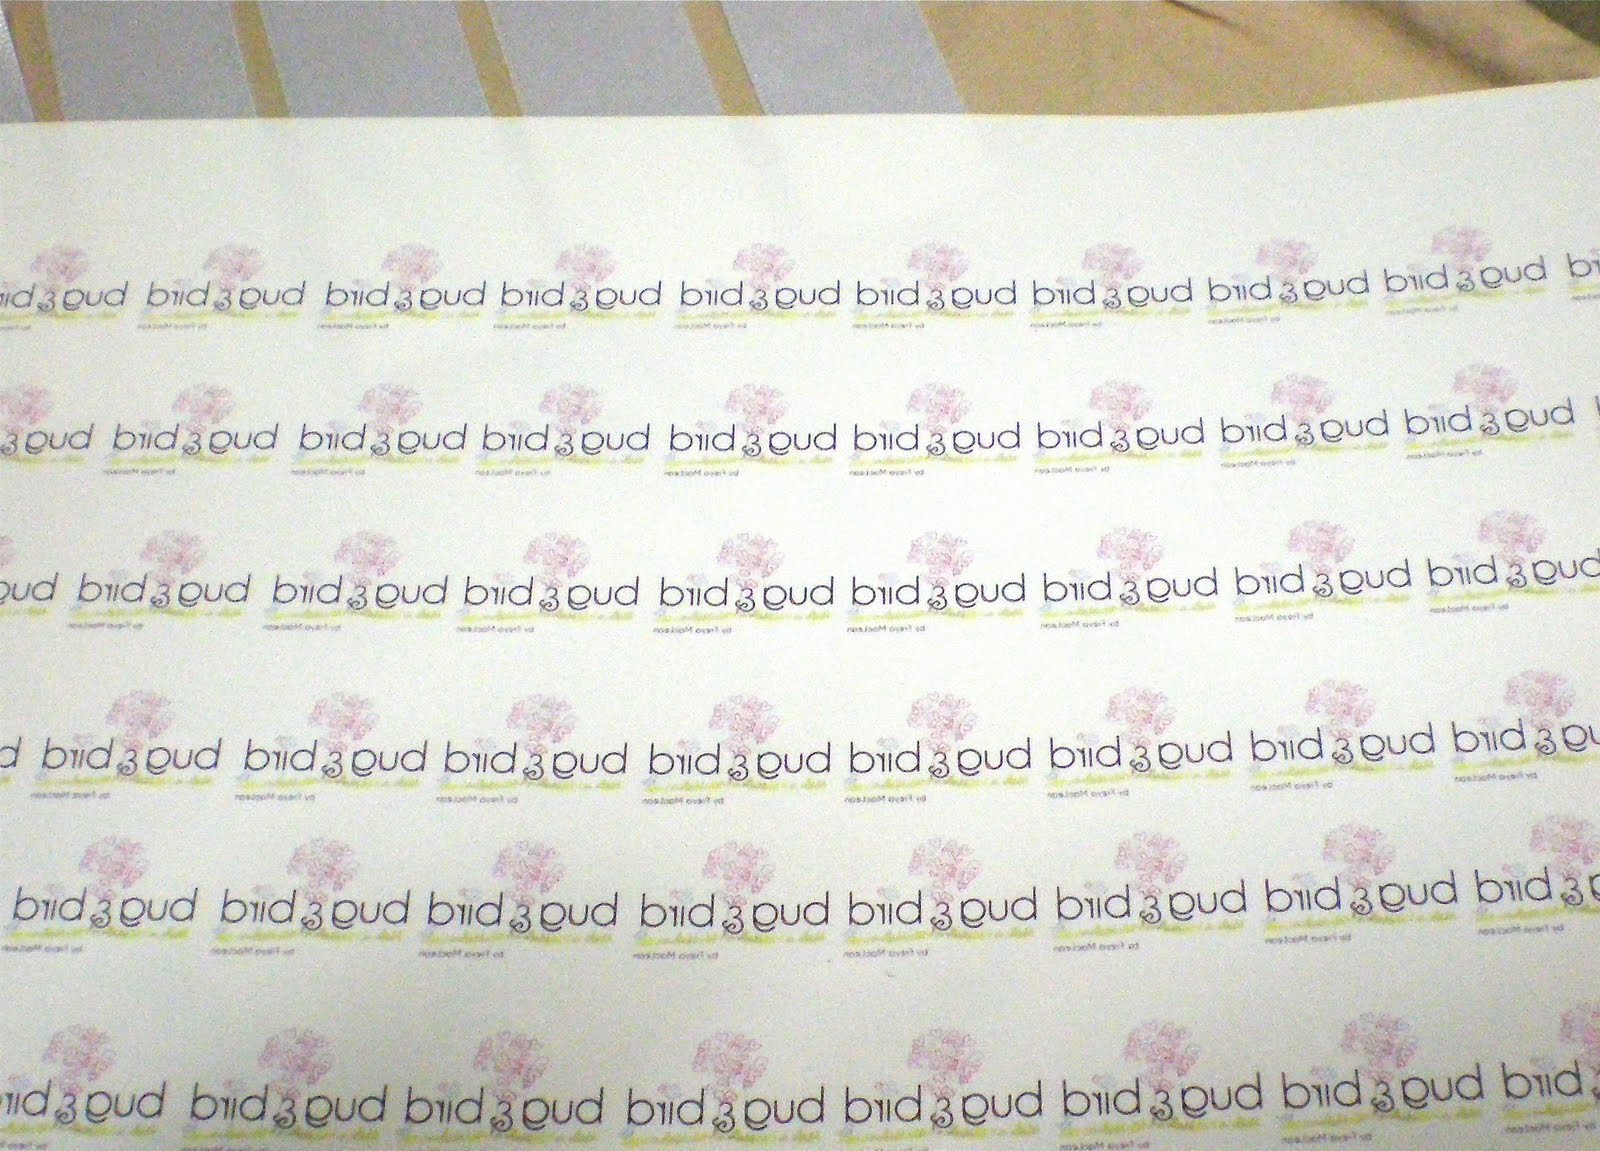
1.) In Keynote or Powerpoint, arrange your logo in rows. I printed out a few test sheets to get my labels just the right size. FLIP YOUR IMAGE! I may or may not have forgotten this step and wasted a sheet of transfer paper. If you're using a Mac, use keynote. Powerpoint for Mac has no 'flip' feature to make your logo a mirror image. Print onto transfer paper according to package directions.
2.) Cut out your transfer paper labels and position as many labels as your iron will cover (I managed 4-6 at a time) on the uncut ribbon or twill tape.

3.) Iron those suckers on. Like crazy. When you think you might be scorching the ribbon, wait another few seconds! Make sure to read the transfer paper directions so you know what heat setting to use and if you should use steam or not. I peeled off the paper backing at random intervals as a sort of quality control, to make sure they were stuck. The rest I left on when I rolled it back onto the spool to protect the tags.

Isn't that sooo much easier?
I love this method!! I cut and ironed the last time I made a batch and it would have gone much more quickly if I'd done it this way! I use 3 inch strips and turn the logo the other way so the ribbon can be folded in half and sewn into clothes, stuffed animals, etc. This method would even work for that, if I leave enough space between each label.
ReplyDeletemy big question is......
ReplyDeletesince they are iron on transfers, are they wash sustainable??
awesome tutorial!
ReplyDeleteAwesome! thank you!! I have been looking for a way to label my son's things for daycare, this will work great!!
ReplyDeleteThis is brilliant! Thank you so much for sharing your great ideas! I can't wait to try this!
ReplyDeletexo Jaime
That is great!! Love how simple this is!
ReplyDeleteIs the label wash proof? I'm in need of labels that will go through a wash on cloth diapers
ReplyDeleteI don't think they would hold up with cloth diaper wash routines, unfortunatly. Handmade Therapy has an alternative here:
Deletehttp://handmadetherapy.blogspot.ca/2010/07/making-your-own-labels.html
But ordering woven may be best.
What brand of transfer paper did you use? Mine kind of yellowed a bit and it was Avery. Ribbon was cotton and polyester
ReplyDeleteNice one, Freya! I’m sure everyone will find this technique to be much easier and quicker to do, especially if they have a big order of labels to fill in such a short time without sacrificing the quality of their labels. I love this idea! =)
ReplyDeleteI bow down to you! This is awesome!! Thanks so much.
ReplyDeletefantastic! great idea! I will try with my sons' name for school bags and dresses. thanks from Italy
ReplyDeleteGreat tutorial!
ReplyDeleteThis is a great idea. Thank you so much for sharing it with us. I'm definitely going to use it on everything I make and sell, or give away! Cindy
ReplyDeleteThen when you cut them apart, do you Frey Check them to keep from unraveling?
ReplyDeleteI cut the labels right before I sew them in, so Fray-Check isn't necessary. If you want to cut them ahead of time you may need to use it.
ReplyDeleteThey are machine washable, but they won't hold up to a crazy amount of abuse. I don't use them on my teething rings or other baby toys because they're not non-toxic and they won't hold up to constant washing. I'm still pondering a way to make super durable labels for heavy use items.
If the transfer paper is yellowing, it may be defective. I've used Wilton and Avery with no issues at all. Perhaps you're overheating with the iron?
they look great! This is how I did them the first time but then I came across Sew in Colorfast...Fabric sheets for ink jet printers. The reason I like them is they dont have a glossy shine. Its really fabric that you peel off the paper when your done cutting them and then just sew them on. I make alot of different colors to, so I can match them with my outfits..lol..Just wanted to share.
DeleteVery cool! Thanks :)
DeleteThank you for this! I needed this tutorial.
ReplyDeleteAnd to think I was considering spray painting my info onto the bottom cloth of upholstered furniture I have recovered using a cut-out type template (which I have not made yet). I love, love, love this idea and thank you for sharing!
ReplyDeleteLove the idea! I'm anxious to get started, but can't find Keynote or Powerpoint template to use. Would you please point me in the right direction to find the template to place my logo in rows?? Thank you so much!!Aunt Sandy
ReplyDeleteThese are on my to-do list :)
ReplyDeletehttp://www.danyabanya.com/2012/11/five-awesome-projects-on-my-to-do-list.html
Thank you so much for this tutorial. I was searching for a way to make my own labels so I wouldn't have to spend a bundle on getting some made. It made my day when I found this.
ReplyDeleteI just made my first batch of labels and they came out really well. Thank you, thank you, thank you.
Aunt Sandy: I didn't use a template, I just methodically lined everything up (powerpoint gives guidelines as your drag your image to show when you're aligned in rows). It takes a while to get everything just so, but since you only have to do it once for as many labels as you want, it's worth the time.
ReplyDeleteI wonder if you use one of the templates for mailing labels (Avery) if that would make it easier?
Deleteoh my... Love this!!
ReplyDeleteWhat a great idea!
ReplyDeletehahaha fun and downright smart! thanks for this tutorial!
ReplyDeleteI haven't tried this yet but would it also help to line the logo up in power point to include the blank space for seams, and just iron a whole row on at a time rather than one at a time? I may just be missing something until I try it.
ReplyDeleteYes, you could definitely do that. I prefer to have 'breaks' in the transfer paper so the ribbon sews on neatly. I also like being able to space them out more or less according to what I'm using them for.
DeleteFantastic thank you. All my clothes and craft projects will now be tagged :-) naomi
ReplyDeleteThank you so much for sharing this wonderful tutorial. Just made my first labels :)
ReplyDeleteGreat Tutorial! You can also get a graphic program (Paint Shop Pro, Photoshop, possibly GIMP, maybe even Paint, etc) and create your logo there and mirror. Save it, then open it in Excel or a spread sheet program and fill it with your logo image. It'll line up everything nicely there. You can also add spacer columns/rows. When you print it out on the transfer paper, cut each row or column instead of each individual logo and iron on that way so they will be straight on the ribbon.
ReplyDeleteThat's an awesome time saver to position the logo spaced far enough in the rows so I don't have to cut each logo out! Thank you,
DeleteAwesome suggestion!
DeleteFreya this is awesome! So glad someone suggested your blog to me. I have 3 girls aged 8 4 and 2 and have been making reversible dresses to sell at market for the last couple of month and really want to brand my products but i looked into woven labels and they are ridiculously expensive for a small order and as I am only starting out and watching my pennys i decided they weren't for me. Thanks for sharing such a fabulous idea! Will be sharing with my friends xx
ReplyDeleteooooooohhh!! wonderful! .....but "Word" don't flip!!!!
ReplyDeletegrrrrr!
ohhhh!!! done done done!!! with jasc paint and word !! thank you!
ReplyDeleteThank you so much for posting this! I love the idea and I'm gonna try making some labels!
ReplyDeleteSome printers can do the flip. When you do the printing, click on "properties" button of your printer and look for "mirror image".
ReplyDeleteThanks so much for a fabulous tutorial. Hope you don't mind, but I'm pinning.
ReplyDeletegreat ideas, but since it's a iron-on transfer, I hate to see the frame of the transfer plastic still on the ribbon... it becomes so obvious around the cut out...
ReplyDeleteIt's true that it's not a perfect label, but the quote I got for labels was astronomical for my little business and I just couldn't fit it into my budget. This has worked really well as a substitute for me.
DeleteWaiting for the transfer to fully cool before you peel it off gives it a more matte finish.
Thanks for the great tutorial! Just tried it, they look great and only coast $0.06 each!
ReplyDeleteLove this! Thanks so much! I just started my own hair bow business and I'm making hats and ear warmers for the winter. This process will definitely be used on the hats!
ReplyDeletewww.LaBruneLavande.com
I do not have Keynote on my MacBookPro. Other suggestions if Powerpoint doesn't have flip option?
ReplyDeleteMost printers have an option to flip the image. I am not terribly computer savvy, but look around on the 'print' screen for a flip or mirror option. Try googling if not? Good luck!
Delete